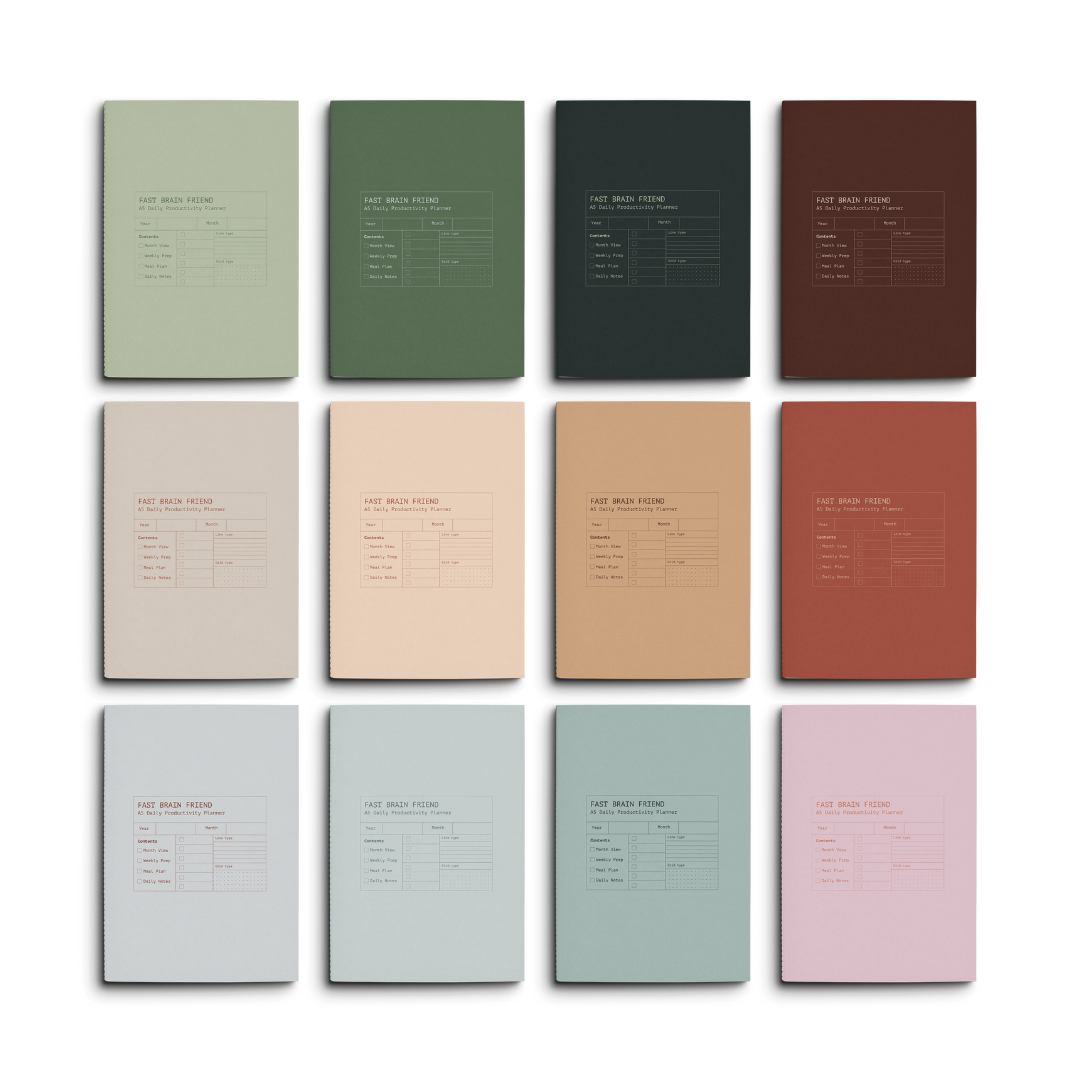
It can be daunting to use a planner which requires fresh creativity each day. It’s part of what makes our Fast Brain Friend system suitable for an ADHD mind, but letting yourself loosen up when first trying out this type of productivity system can take a hot minute.
We recently shared a series on our socials showcasing different ways people use the rotating daily layouts and people found it so useful that we wanted to bookmark it here in our user guides for you to find.
Remember, there’s no *correct* way. Fast Brain planners are all about stimulating your own mind however it responds best.
DAY ONE
Fast Brain notebooks feature 8 different rotating layouts. For Day One I jumped straight in with our mental inventory layout. This gives you space to log an overview of your schedule, a little bullet grid for notes and any extras you need, and then 3 buckets for you to dump the tasks racing through your mind into.
By forcing yourself to categorise all those tasks into “working on”, “should be working on” and “want to be working on”, you’re giving your mind a space to properly evaluate how you should spend your time today, and providing a “dumping ground” for all the tasks that your brain isn’t allowing you to let go of.
I chose to dive in to my week with a little colour blocking in pencil.
DAY TWO
How do you visualise time in your mind?
For me I’ve always seen it as circular, which is why this is my favourite of the 8 rotating layouts in a Fast Brain notebook.
This layout can be one of the more intimidating in the journal because it’s so unusual compared to traditional planners.
Here’s the 1 and only rule for it: There is no wrong way.
Try and break out of the mindset that you should be planning your day the same way a traditional system forces you to and let that magic brain of yours flow.
Some of the cool ways I’ve seen this page done include;
-
tracking lines or ‘rays’ coming out from the circle to indicate different tasks through the day,
-
using the rings like a bar chart and colour coding it for different tasks or intensity
-
adding lines to represent how long each task will take like I have in my video
-
drawing cool little drawings or icons into each section of the page (morning, midday, afternoon, evening) to represent what you’ll be doing
-
adding bullet journalling style checklists into the blank space
-
adding tasks in simple dot points to the main section, but using the rings to track their mood throughout the day
-
Turning it into a clock face
DAY THREE
Day 3’s productivity layout is a combination of classic “task buckets” and the addition of what we call “side quests” for all of those distractions that attempt to sidetrack you.
You can start by identifying 4 ‘macro’ tasks, projects, or focus areas, - then no more than 5 steps or ‘micro’ tasks for each one. These should be what you prioritise today.
Any distractions which pop up throughout the day and don’t fit these buckets can be jotted down in your side quests bar to delegate to another time, person, or head space.
This is just one way of using this page layout. Depending on your day or your headspace, you might need to be looking at your tasks from further away or on a much closer step-by-step approach.
Here’s a few examples of how you can split your buckets:
STYLE 1 “Category”
BUCKET: Work
TASKS: Pack orders, answer emails, film video, write newsletter, order stock
STYLE 2 “Project”
Bucket: EOFY Sale
Tasks: Schedule on website, create newsletter, create social content, schedule ad, launch
STYLE 3 “Task”
Bucket: Book the Dentist
Tasks: Check my availability, find phone number, book time, add to calendar, notify work of appointment
DAY FOUR
I’ve seen this split column layout used in a number of ways. For my Sunday I chose to simply divide by my 2 focus areas - work and family.
Some days I like to use one side for appointment keeping and the other for my task list, and other days when I’m feeling really distracted I divide as “SHOULD BE FOCUSING ON” and “DISTRACTIONS”.
You can also get super bullet journal-ey with this! Use that dot grid to your advantage.
DAY FIVE
The idea of this layout is to map your time out visually for each task, like a GAANT chart. Along the top is your time of day. And then you can look at the blocks down the side as:
💫Big tasks broken into smaller steps,
Or
💫 Subjects/Focus areas broken into individual tasks
Or
💫 Macro/micro tasking.
I love this style of time blocking. I’m such a messy bessy, but much cooler people have done far more awesome rainbow time blocking on these!
Remember: The idea with every layout in these journals is that you get the chance to experiment each day. Try new things. Find what works for your brain. It’s the change that gets fresh dopamine dripping, so that you’re excited to pull out your planner each morning.
DAY SIX
During the process of sharing this series I had a comment from someone on Tik Tok exclaiming this system would never work for them because they have hundreds of tasks on their to-do list each day. And I gotta say, that’s kind of the point.
Even though our brains are throwing a million requests at us at any given moment, we need to be able to pull out a focus and direct our energy there if we’re going to be able to be productive.
My Day 6 layout is a great example. It forces me to choose just one priority focus morning, midday, afternoon and evening. From there I can only schedule a max of 4 tasks per time block.
Distractions are always going to come up that your brain doesn’t want you to let go of, so there’s a space at the bottom to dump that mental load and delegate for later.
DAY SEVEN
I LOVED doing this pathway layout.
By the end of the week I’d switched from pencils, to highlighters, to plain black biro. I find doodling with a pen so therapeutic, and imagining my day was a path I was adventuring down made the mundane nature of everyday tasks feel a little more magic.
There’s a few other interesting ways I’ve seen people use this layout; a minimalist style where they drew line markers off the timeline to describe events, a simple colourful style where they highlighted the time path in chunks to colour code their day, and a SUPER bold one in which they coloured whole sections of the page like some kind of rainbow pie chart snake.
DAY EIGHT
The KEEP-MOVE daily layout is the planning approach that gets me the most results. It makes me take a good hard look at what I’m ACTUALLY doing with my day versus what I SHOULD be doing, as well as makes space for me to entertain what I WISH I was doing.
I have to ask myself the tough questions on how much I can realistically achieve because this layout forces me to prioritise only a handful of tasks for the day.
I’ve gone with a pretty simple creative design for this last day, but you can add as much colour coding or sparkle as you like.
This is the final day in the Plan With Me series! I hope you’ve enjoyed the opportunity to see different ways you can use the rotating layouts in a Fast Brain notebook.
Key takeaways:
-
You can’t do it “wrong”
-
You can be as creative or as structured as you like
-
Trying something new each time you open the notebook should excite you
-
This isn’t a to-do list, it’s a productivity tool. You don’t have the space to simple list off the hundred tasks you have convinced yourself you can achieve, so yes it will make you ask yourself that tough question each morning of what your priority is, and how much you can actually achieve in a day
-
It’s fine if you miss a day, a week, a month. You can open up and start fresh in a new layout or a different coloured notebook
If you had any questions after watching the series I love to answer them! Comment on our socials or drop me a message at hello@creatorsfriendstationery.com


